
Desktop app
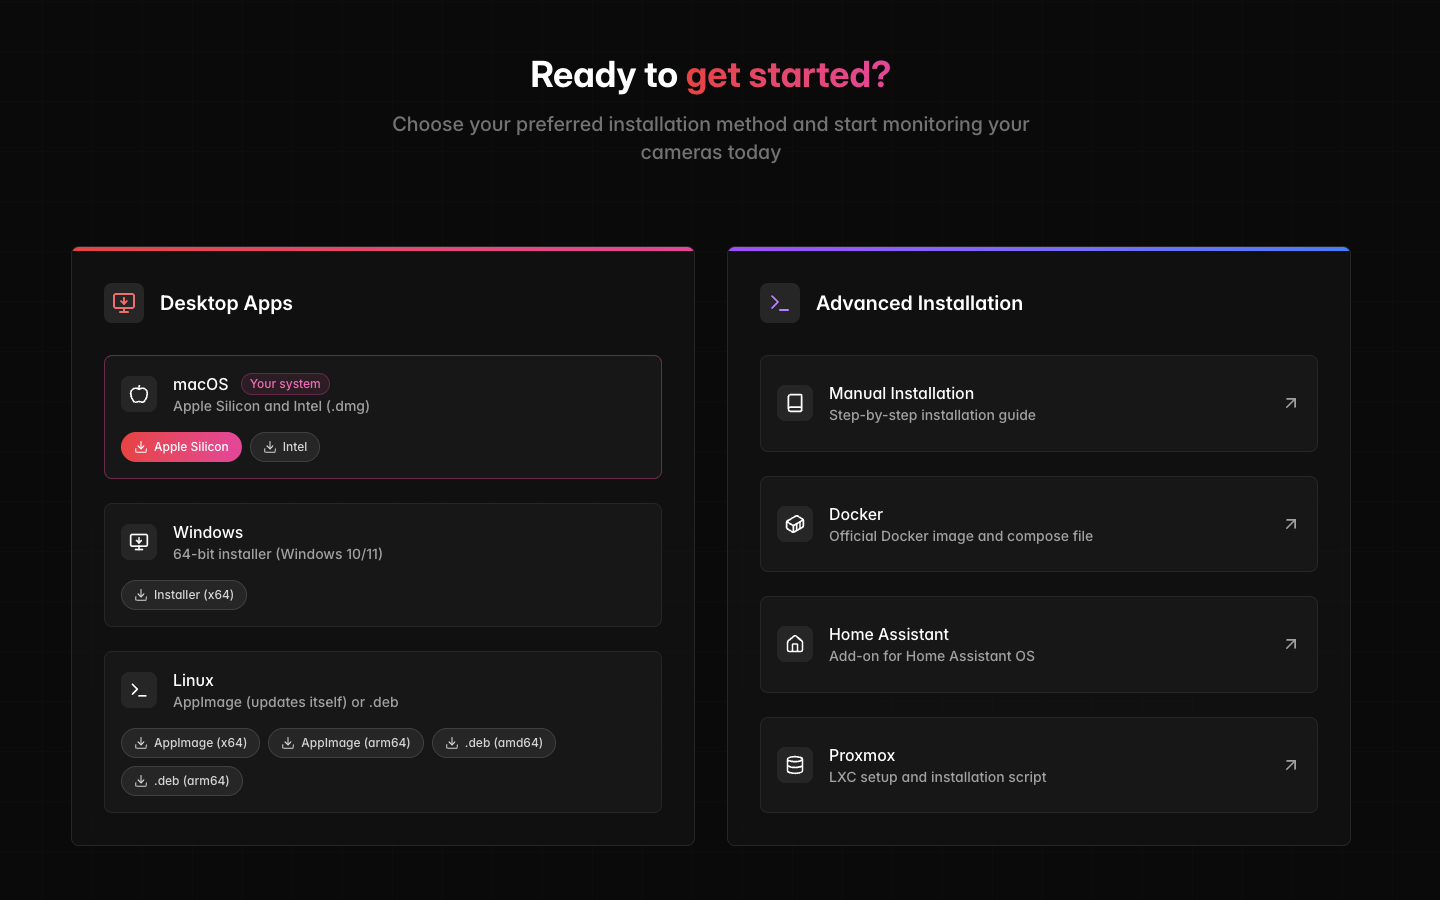
The desktop app is the recommended way to run camera.ui on macOS and Windows. One download installs server and viewer together. It also runs on Linux, though there a Docker or Proxmox server is the better choice (see Which installation?).
Download
Installers are below and on the download page. The links always point to the latest release.
| Platform | Download |
|---|---|
| macOS (Apple Silicon) | camera.ui-arm64.dmg |
| macOS (Intel) | camera.ui-x64.dmg |
| Windows 10 / 11 | camera.ui-x64.exe |
| Linux (AppImage) | x64 · arm64 |
| Linux (.deb) | amd64 · arm64 |
Install
macOS
Drag camera.ui from the .dmg into Applications. The app is signed and notarized, so it opens without warnings.
Windows
The .exe installs for the current user, no administrator rights needed.
The app is not code-signed yet, so SmartScreen may warn. Select More info → Run anyway.
Linux
Install the .deb:
sudo apt install ./camera.ui-*.debOr make the .AppImage executable and run it:
chmod +x camera.ui-*.AppImage
./camera.ui-*.AppImage
Pick the .AppImage if you want automatic updates
Only the .AppImage updates itself. A .deb install stays on its version until you install a newer .deb.
First launch: choose how to run
On first launch the app asks "How should camera.ui run?":
- Server. Runs the camera.ui server on this machine. The all-in-one option.
- Worker. Takes on part of the work for another camera.ui server on your network. Needs the main server's address and a pairing code from its Workers settings. See Worker setup.
- Viewer · Direct. Connects to an existing server by address.
- Viewer · Cloud. Signs in via cloud.cameraui.com to reach a server through camera.ui Cloud.
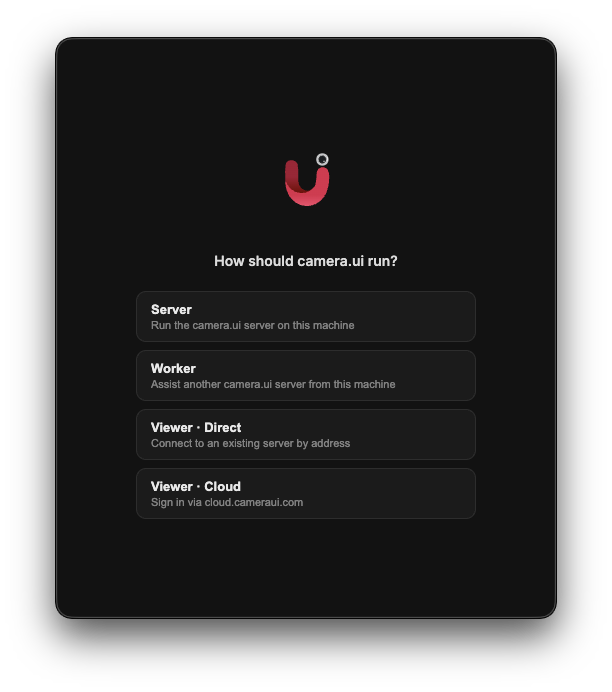
Server mode continues with first-run setup. Worker mode has no window, only the tray icon and a status screen.
Starting without the picker
The mode can also come from the command line, then the picker is skipped:
| Mode | Options |
|---|---|
| Server | --mode=runtime |
| Worker | --mode=worker --master=192.168.1.10 --pairing-code=XXXX-XXXX, optionally --worker-name=nas |
| Viewer · Direct | --mode=viewer-direct --server=192.168.1.10:3443 |
| Viewer · Cloud | --mode=viewer-cloud |
The app stores the mode as if it had been picked. Started with a different --mode while it runs, it switches over, the same mode again changes nothing.[1] Values always follow an =. A missing or wrong value is noted in the log, and the app starts as if the option were not there.
The tray icon
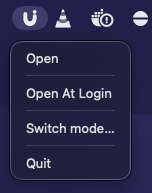
The tray icon holds the app's own settings:
- Open At Login. Starts camera.ui at login, straight to the tray without a window.[2]
- Close to tray. Off by default. When on, closing the window only hides it and a server on this machine keeps running.[3]
- Pause Live View. Only with Live view on the desktop on. Stops the windows for one or eight hours, Resume Live View ends the pause early.
- Switch mode…. Changes how the app runs, without reinstalling.
- Quit. Stops the app, and in Server mode the server with it.
On Windows, left-click the tray icon to open the window, right-click for the menu.
GNOME shows a tray icon only with the AppIndicator extension. Switch mode… also sits in the app menu under File, and starting the app with --switch-mode opens the mode picker: in the running instance if one is up, otherwise on that launch.[1:1] Both also work for a worker, which has no window of its own.
macOS permissions
On macOS 15 and newer, allow local network access on first launch, otherwise the app can't reach your cameras. Two-way talk asks for microphone access, and the geofence trigger's "My location" button in Automations for location access.
Updates
The app checks for updates at startup and while it runs. It installs one only after a click, on its start screen or on the Updates page from any device. The bundled server updates with the app.
On Linux only the .AppImage updates itself; a .deb is updated from the download page.
Where your data lives
In Server mode, settings and recordings live in the app's per-user data directory:
- macOS:
~/Library/Application Support/camera.ui/camera.ui/volume - Windows:
%APPDATA%\camera.ui\camera.ui\volume - Linux:
~/.config/camera.ui/camera.ui/volume
The recording settings can move recordings to another disk, an external drive for example. Avoid a network share, see Storage & retention.
See Backup & restore to keep a copy.
On macOS, start it with
open -n -a camera.ui --args --mode=runtime. Without-na running app only comes to the front and never sees the options. ↩︎ ↩︎macOS and Windows only. ↩︎
Windows and Linux only. On macOS closing the window always only hides it, so the app and its desktop notifications keep running until you quit it. ↩︎